

5 Essential Nail Tech Tips
5 Essential Nail Tech Tips
1. Staining:
Do you have those Hairdresser Clients who can never get nice bright, light colors always needing Black or Dark colors because of staining?
- After your Gel or Acrylic is applied and shaped - apply any gel polish color even White, Ombres or French sets! See Our Gel Polish.
- Coat the nails using the YN Stain Resistant Top Coat.
- Cure for 60 seconds in LED Lamp, check out our LED Lamp.
- Swipe the sticky layer! - this will stop all hair dye staining or just general staining.
- *Top Tip: This is a super shiny finish but can not be placed over gel polish on natural nails only. Must have a gel or acrylic base underneath.
2. One To One Courses:
Need to brush up on things? Maybe start out completely, but not too keen on a class environment?
- We offer one to one classes for all levels of trainees! All you do is pick the day and what you want to cover. Check out our training here courses!
- The Educator will be with you for the full time at 10am - 2pm. This will be you two only in the class, so all questions will be answered there and then. Perfect if you can't get time to do all the courses as there on separate days?
3. Ombre: How to get good at Ombre?
With Gel:
- I like to start with my white sculpture gel apply its generously at the tip of the nail and blend/fade it back towards the cuticle area (don't go too far down).
- I like to apply the white just halfway down the nail and blend it back. Cure this for 60 seconds LED. Using your concealer pink or peach gel, Take a big bead and place it at the back of the nail as close to the cuticle without touching the skin. See all our Gel products!
- Lightly flow this forward keeping the thickness there until you reach the white gel, flow the pink gel over the white and then lightly pull the think layer right through to the free edge. Cure for 60 seconds.
- The tip here is to really thinly cap the white and up to the thicker area of your pink with Clear Sculpt Gel or Clear Build Gel. This will save you from filing your perfect blend away.
With Acrylic:
- Using XXX White/White Powder first, use it a little wetter than normal, apply it and blend it back towards the cuticle area.
- Blend out as best you can and let this dry.
- Using Cover Pink/Peach Powder ( or whatever pink you like best from the acrylic range ). Place your bead at the cuticle area and point your finger down let its settle and guide it through the nail when it meets with the white lightly pull a thin layer of pink over the white.
- Cap the white with Clear Powder to protect your fade.
- *Top Tip: File & Shape - Try just buff the body of the nail with a soft 180 Buffer to avoid overfilling your Ombre.
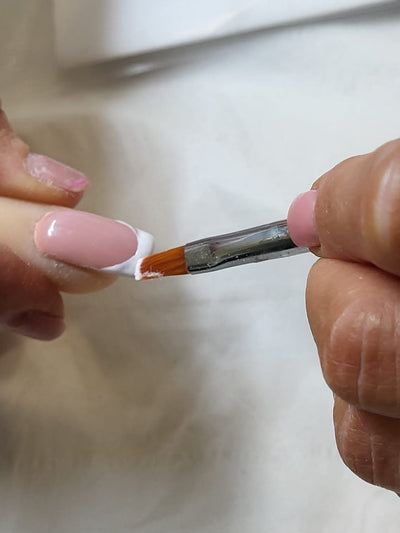
4. Freehand Nail Art:
Your freehand work moving too quickly, Solid Lines Blurring out or color bleeding?
- You 100% need to try our Mission Control Precision Gel Paints.
- These gels are extremely pigmented with the perfect level of flexibility with stability.
- Use the YN Micro Detailer to line out the finer details you want to achieve, Draw out your design with ease and complete the nail before curing.
- Cure for 60 seconds. This leaves no sticky layer so applying any Top Coat on top with not pull through color or bleed into your design.
- You actually don't even need topcoat which is a bonus.
- Nail art does not have to be a pain, it's so much easier with these and you can also use them as a full color to Bonus!
5. Lifting:
Nails lifting even though you know you've done everything right? Protein Bond is a lifesaver for this, this makes everything stick and sticks really well, It's our #1 seller.
Some causes of lifting though can be:
- Preparation not done correctly. So from Cuticle work to etching the natural nail plate. Make sure all oils and dead skin is removed from the nail plate.
- Product touching the skin is a huge issue in lifting, The Gel or Acrylic should not touch the skin at the cuticle or the side walls at any stage.
- Flush Filing with your YN150 File, if your product is not touching the skin but the product is raised and thick at the cuticle then you need to make sure the product is applied flush at these key areas. Make sure to file it too smooth it out before finishing the set.